
Welcome back to our Craft, Card making & Scrapbooking mixed media challenge!
We have some wonderful inspiration with some of our favourite projects from the past month from the team....
As always, the theme this month is
Anything Mixed Media/paper crafting Goes
You do not need to use Polkadoodles products to enter our challenges, use any products you wish...
RANDOM WINNER PRIZE: $10 GIFT VOUCHER*
for the Polkadoodles store for our lucky winner, (chosen by random.org) - this voucher can be spent across the whole store, so you can use it on dies, stamps, papers, digis, whatever you wish...
Winners of our last challenge are at the bottom of this post...
Our sponsor for 2026 is Polkadoodles and you can check out all the wonderful selection of Polkadoodles goodies in the shop.
Check out the store and take a peek at the latest releases!

Let's see what the Design Team have created to get you inspired this month!...
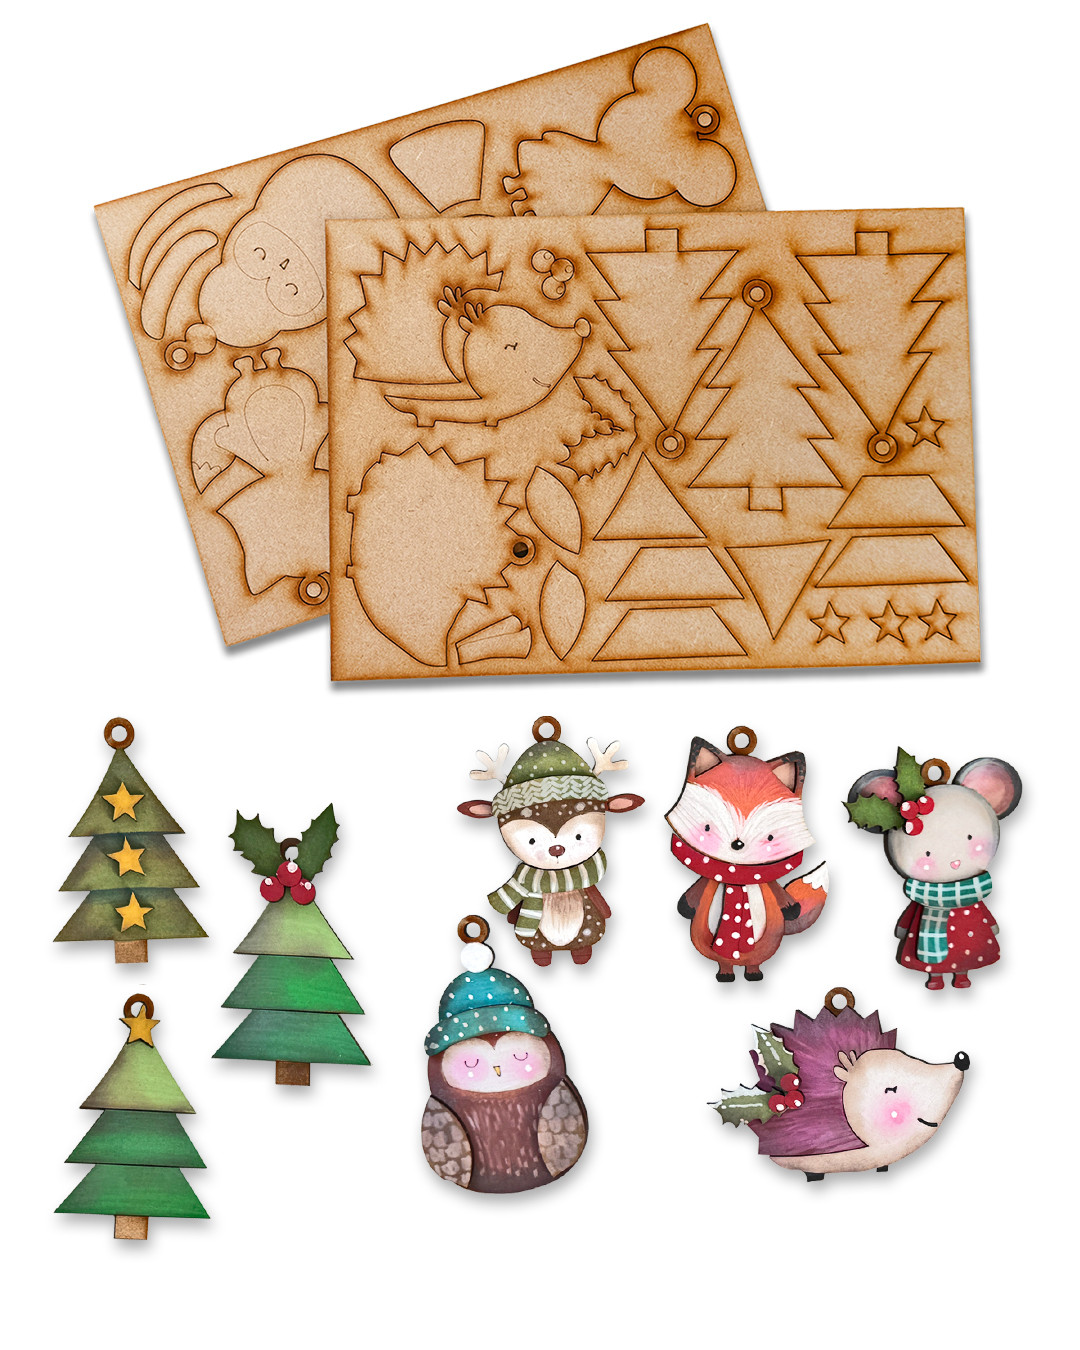
Nikky...Hi everyone! We've just launched our brand new 2026 Christmas release together with these adorable MDF cuties in this big new kit...so cute and easy to make! Just literally pop them out and paint or ink them with acrylic markers or Distress Oxides. These are quite big sizable baubles but you can also add them as little gifts, add onto a present or make hangers for doors etc - endless possibilities and everyone will love all the amazing layers! 
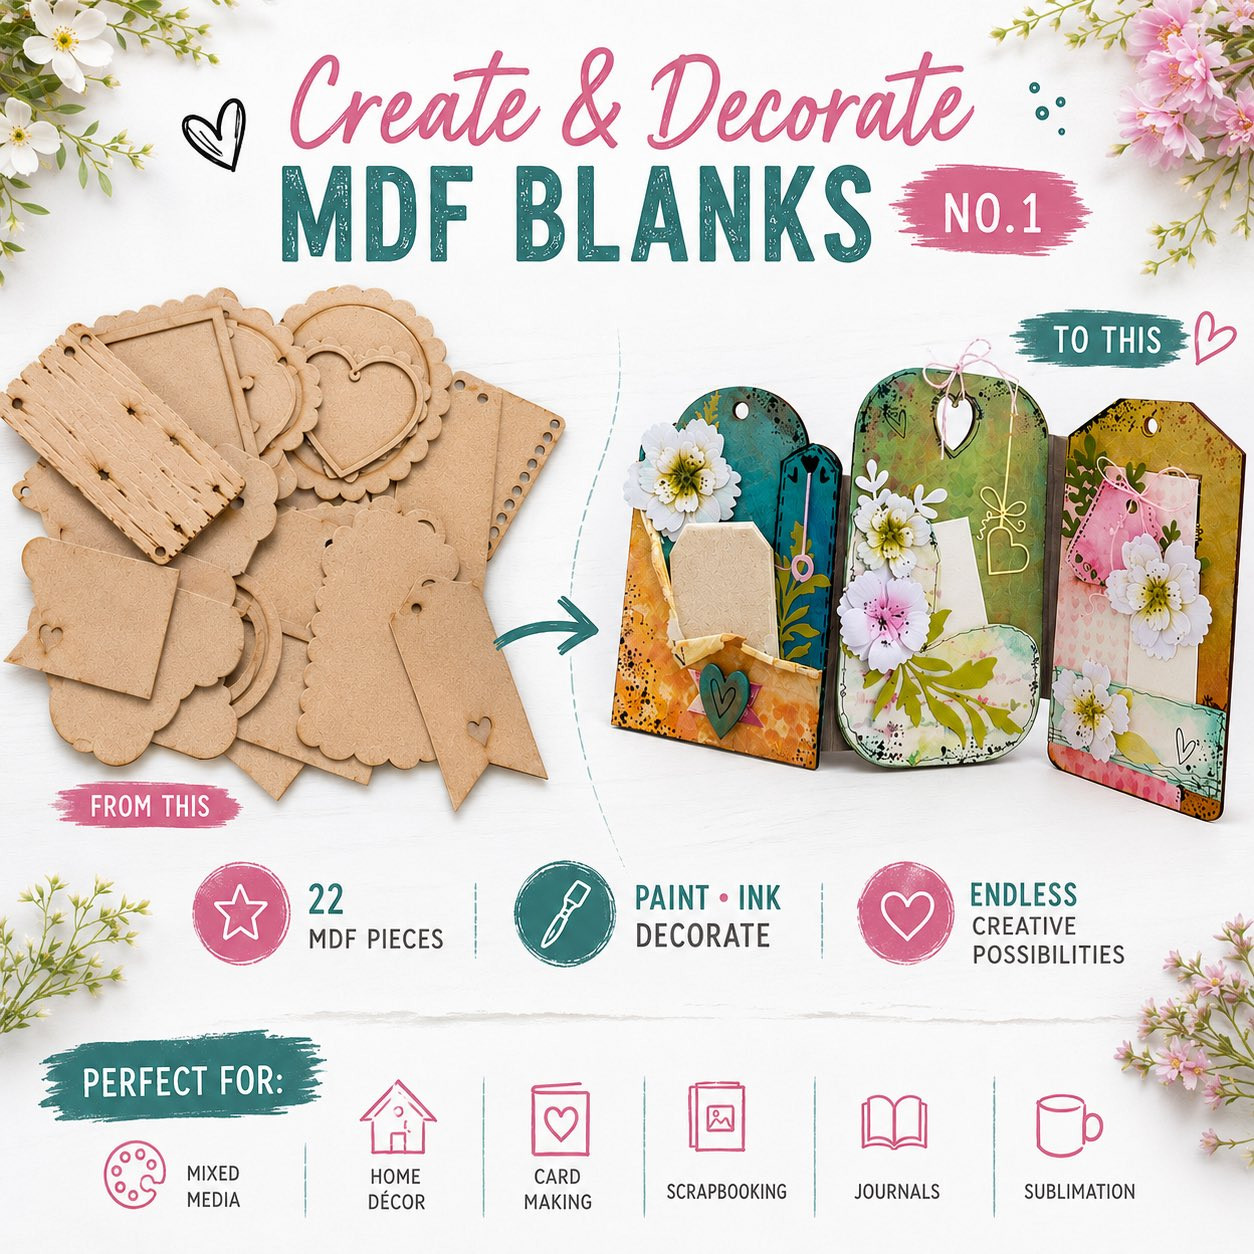
Liz - Hello again! Using one of the latest MDF pieces from the Create and Decorate Pack 1, I made a scene using the Brick/stone stencil with paste then went over with distress sprays,
I die cut the Pretty Shutter window out of 300 gsm cardstock, scored along the shutter inside edges to create lift. I added some white ink to one of the chipboard pretty border strips before adhering behind the window, at the base I added one of the matching dies as a stone lintel,
After placing and adhering the window in place I added some of the ivy leaves from the window die set along with a small stamped butterfly. I die cut some flowers and leaves from various die sets, coloured with distress inks. then layered up to create a flower display with a larger stamped butterfly at the top.

Bev - Hi everyone! I created this lovely Summer Garden Planter using various PD products and dies.
Products Used :
Daisy daisy paper pad
Stencils : perfect poppies dash lines
Dies: daisy flower dies, big hello, leafy fronds.
Mdf: large scallop board, centre of small scallop frame.
I coated the large scallop board with cream acrylic paint, then using the perfect poppies dash lines stencil on its side, inked through with brown ink, overlapping as I went and then rotating it in the opposite direction to give a trellis effect.

I covered the small scallop frame centre board with paper and used a couple of strips of cardboard to make the sides and bottom to give a 3d effect and assembled the pieces to make the planter


I cut a variety of flowers and leaves and coloured them with acrylic markers, these where then placed in the planter at various heights. I finished the project using the hello die and made drop shadow using some of the paper pad. Hope you like it! Follow me on Facebook here
Bea - Hello crafters! I love mixed media so I also had a play with the lovely MDF products from Polkadoodles crafting. These boards & tags are absolutely fabulous for creating home decor pieces with lots of layers. Perfect for your wall, bookcase or to give as gifts. I have given this one to a young lady going through stressful exams!
The background has texture paste through the Boho Blooms stencil, coloured with ink and drybrushed with white paint to soften it. For the layers I used the hearts & foliage from the Hearts & Flowers mdf pack (decorated with paint, texture paste and gilding flakes) then added the beautiful flowers & leaves from the Delicate Daisy die set. Finally, I added a few gemstones, a bit of lace from my stash and a sentiment from the Sentiment Strip stamps, then a few white paint splatters completed the piece.
I like this because it is mixed media but not grungy. The background has texture paste through the Boho Blooms stencil, coloured with ink and drybrushed with white paint to soften it. For the layers I used the hearts & foliage from the Hearts & Flowers mdf pack (decorated with paint, texture paste and gilding flakes) then added the beautiful flowers & leaves from the Delicate Daisy die set. Finally, I added a few gemstones, a bit of lace from my stash and a sentiment from the Sentiment Strip stamps, then a few white paint splatters completed the piece.

For the cards :
I inked through the layering stencils onto paper from the Not so plain Kraft pack (PD9156). I used inks which matched colours from the papers, and chose a different colour for each stencil layer. Stencilling with inks onto polkadoodles patterned paper adds subtle depth and detail to the cards.
I also used white embossing powder for one of the layers of the Boho Circles card and cut the smaller scalloped rectangle from silver mirror card as a "frame" for the "Let's celebrate..." sentiment.
The sentiments on both cards are from PD9115 Sentiment Strip stamp and cut with the corresponding die. I love that stamp set....such a great range of sentiments for many occasions!
To finish, I added some embellishments from my stash.

Monika- Hello crafters! I hope you will my project this week using Layered flowers, delicate foliage, soft pastel colours and gorgeous dimension come together to create a project bursting with elegance. Watch the full step-by-step tutorial below:


Stunning Inspiration from the team - thanks everyone!
WINNERS FROM CHALLENGE 4 (there is no 5 or 6 challenge)
Thank you everyone who entered this challenge - we really loved looking round your blogs, you all left us some awesome work to look at and there were so many great projects it was SO hard to choose our winners this week!
OUR RANDOM $10 WINNER IS...
12 Chris
Well done!
PRIZE: $10 gift voucher to the Polkadoodles Store to spend on anything you like including mixed media goodies, stamps, papers & anything else!....
To claim your prize please contact us via the Website Chat here, quoting 'L2C winner'.Please include this claim code L2CWK007 in your email and claim by 20 June 2026. PLEASE NOTE: If you are in the EU you will be expected to pay the NEW EU CUSTOMS CHARGES on any free prize orders - we are unable to ship items as 'free gifts'.
Allow 28 working days for a reply please.
DESIGN TEAM TOP FAVOURITES:
Sorry, there's no prize but we all loved your creations! There were so many amazing entries this month to choose from, thankyou all!
Don't Forget to enter our other blogs too...All our challenges are Anything Goes!........
Find us here:
Digi Choosday Blog - starts Wednesdays, weekly
Polkadoodles Blog - starts Saturday, weekly
Gem of a Challenge - starts Saturday, monthly
Join Nikky for our regular LIVESTREAM on Facebook, Insta and YouTube every Sunday (UK time) if you need some inspiration!
Let's see what the Design Team have created to get you inspired this month!...

Liz - Hello again! Using one of the latest MDF pieces from the Create and Decorate Pack 1, I made a scene using the Brick/stone stencil with paste then went over with distress sprays,
I die cut the Pretty Shutter window out of 300 gsm cardstock, scored along the shutter inside edges to create lift. I added some white ink to one of the chipboard pretty border strips before adhering behind the window, at the base I added one of the matching dies as a stone lintel,
After placing and adhering the window in place I added some of the ivy leaves from the window die set along with a small stamped butterfly. I die cut some flowers and leaves from various die sets, coloured with distress inks. then layered up to create a flower display with a larger stamped butterfly at the top.

Bev - Hi everyone! I created this lovely Summer Garden Planter using various PD products and dies.
Products Used :
Daisy daisy paper pad
Stencils : perfect poppies dash lines
Dies: daisy flower dies, big hello, leafy fronds.
Mdf: large scallop board, centre of small scallop frame.
I coated the large scallop board with cream acrylic paint, then using the perfect poppies dash lines stencil on its side, inked through with brown ink, overlapping as I went and then rotating it in the opposite direction to give a trellis effect.


I covered the small scallop frame centre board with paper and used a couple of strips of cardboard to make the sides and bottom to give a 3d effect and assembled the pieces to make the planter


I cut a variety of flowers and leaves and coloured them with acrylic markers, these where then placed in the planter at various heights. I finished the project using the hello die and made drop shadow using some of the paper pad. Hope you like it! Follow me on Facebook here

The background has texture paste through the Boho Blooms stencil, coloured with ink and drybrushed with white paint to soften it. For the layers I used the hearts & foliage from the Hearts & Flowers mdf pack (decorated with paint, texture paste and gilding flakes) then added the beautiful flowers & leaves from the Delicate Daisy die set. Finally, I added a few gemstones, a bit of lace from my stash and a sentiment from the Sentiment Strip stamps, then a few white paint splatters completed the piece.
I like this because it is mixed media but not grungy. The background has texture paste through the Boho Blooms stencil, coloured with ink and drybrushed with white paint to soften it. For the layers I used the hearts & foliage from the Hearts & Flowers mdf pack (decorated with paint, texture paste and gilding flakes) then added the beautiful flowers & leaves from the Delicate Daisy die set. Finally, I added a few gemstones, a bit of lace from my stash and a sentiment from the Sentiment Strip stamps, then a few white paint splatters completed the piece.

For the cards :
I inked through the layering stencils onto paper from the Not so plain Kraft pack (PD9156). I used inks which matched colours from the papers, and chose a different colour for each stencil layer. Stencilling with inks onto polkadoodles patterned paper adds subtle depth and detail to the cards.
I also used white embossing powder for one of the layers of the Boho Circles card and cut the smaller scalloped rectangle from silver mirror card as a "frame" for the "Let's celebrate..." sentiment.
The sentiments on both cards are from PD9115 Sentiment Strip stamp and cut with the corresponding die. I love that stamp set....such a great range of sentiments for many occasions!
To finish, I added some embellishments from my stash.
I inked through the layering stencils onto paper from the Not so plain Kraft pack (PD9156). I used inks which matched colours from the papers, and chose a different colour for each stencil layer. Stencilling with inks onto polkadoodles patterned paper adds subtle depth and detail to the cards.
I also used white embossing powder for one of the layers of the Boho Circles card and cut the smaller scalloped rectangle from silver mirror card as a "frame" for the "Let's celebrate..." sentiment.
The sentiments on both cards are from PD9115 Sentiment Strip stamp and cut with the corresponding die. I love that stamp set....such a great range of sentiments for many occasions!
To finish, I added some embellishments from my stash.


Monika- Hello crafters! I hope you will my project this week using Layered flowers, delicate foliage, soft pastel colours and gorgeous dimension come together to create a project bursting with elegance. Watch the full step-by-step tutorial below:


Stunning Inspiration from the team - thanks everyone!
Thank you everyone who entered this challenge - we really loved looking round your blogs, you all left us some awesome work to look at and there were so many great projects it was SO hard to choose our winners this week!
OUR RANDOM $10 WINNER IS...
12 Chris
Well done!
PRIZE: $10 gift voucher to the Polkadoodles Store to spend on anything you like including mixed media goodies, stamps, papers & anything else!....
To claim your prize please contact us via the Website Chat here, quoting 'L2C winner'.Please include this claim code L2CWK007 in your email and claim by 20 June 2026. PLEASE NOTE: If you are in the EU you will be expected to pay the NEW EU CUSTOMS CHARGES on any free prize orders - we are unable to ship items as 'free gifts'.
DESIGN TEAM TOP FAVOURITES:
Sorry, there's no prize but we all loved your creations! There were so many amazing entries this month to choose from, thankyou all!
Find us here:
Digi Choosday Blog - starts Wednesdays, weekly
Polkadoodles Blog - starts Saturday, weekly
Gem of a Challenge - starts Saturday, monthly
Join Nikky for our regular LIVESTREAM on Facebook, Insta and YouTube every Sunday (UK time) if you need some inspiration!
