QUICK REMINDER ...
You have one more week to enter the current 'Anything Goes' challenge and
you can find all the challenge details HERE
Many, many thanks to all the wonderful entries so far.
* * * * * * * * *
Hi Lou here and my "top tip" today is to think outside the box with regards to your printing. We are all familiar with printing on printable acetate, vellums and a range of papers/cards but did you know that you can also print on other every day items ... yep, you can.
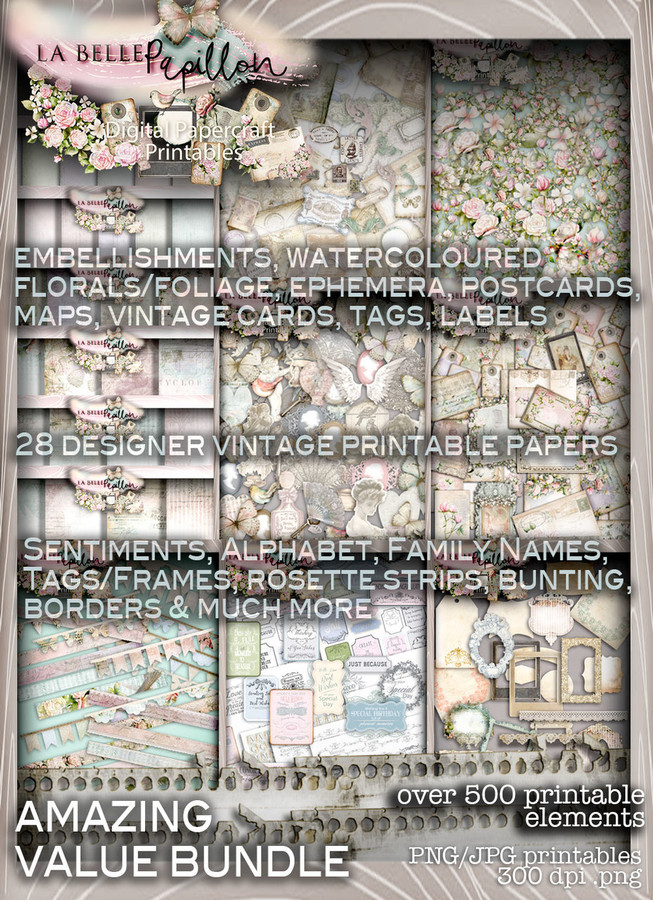
As you know Polkadoodles have a wonderful range of collections and for my next project I want to use the Belle Papillion collection ...
... but alas Nikky doesn't produce napkins to match! No worries because I can create the same look by printing on to kitchen towel and toilet roll! Below is a quick tutorial as to how you can work my "top tip" ...
KITCHEN TOWEL
For my project, I want to use an embossed kitchen towel, (but other types will do). Begin by placing double sided tape along the top of your cheap printer paper and stick the kitchen towel in place.
Make a mark with pencil where the kitchen towel ends, and just above the mark, place another line of double sided tape. Carefully smooth the kitchen towel over the tape.
Finally, turn your paper over and either cut away excess kitchen towel or alternatively place another strip of double sided tape, securing over hang. Repeat on both sides and you are ready to print.
Below is the printed design I have chosen and all I need to do is carefully lift the kitchen towel up or alternatively cut. Voila, I have my napkin with the design I want.
If I was a really frugal crafter - especially as this is a 2ply kitchen towel - I could have left the 2nd layer in place and reprinted ...
TOILET PAPER
Now this medium is trickier to print on as it has a little more give to it. To help your printer and to make sure it grabs the paper first - and not the toilet paper - place your double sided tape about 2 cm down from the top.
Next, place your toilet paper horizontally and don't worry if it goes over the edges. As before, make a pencil mark and add your double sided tape above this mark. Carefully smooth your toilet paper in to place.
Continue down the paper until you have covered the copier paper as much as you want.
Turn your paper over and place double sided tape down the vertical edges of the copier paper, trapping the edges of the toilet roll in place.
Finally, send your chosen design to print.
As with the kitchen towel, if you carefully pull the top layer away, you can reprint another ...
Over to you to give this a try. It goes to show that digi images or papers do not always need to be printed on to paper or card! So be brave and give printing on different surfaces/papers a go. Once you start, your mind goes in to over drive ...! Please share with the team here at Love to Create the different materials/media you have printed on, so we can have a go too.
Now I have two different printed media to use on my project and they can be secured in place with PVA glue, Mod Podge etc. Next week I will show you what I have created with them.
Lou
x x x


Fabulous idea I cannot wait to try thanks xx
ReplyDeleteThanks for the tutorial! Great idea!
ReplyDeleteGenius idea Lou, fab tutorial xx
ReplyDeletegreat idea claire
ReplyDeleteWow, so cool! Thanks for sharing this!
ReplyDeleteWow, amazing tips definitely something I need to try.
ReplyDelete